AUDJPY Possible Long Position
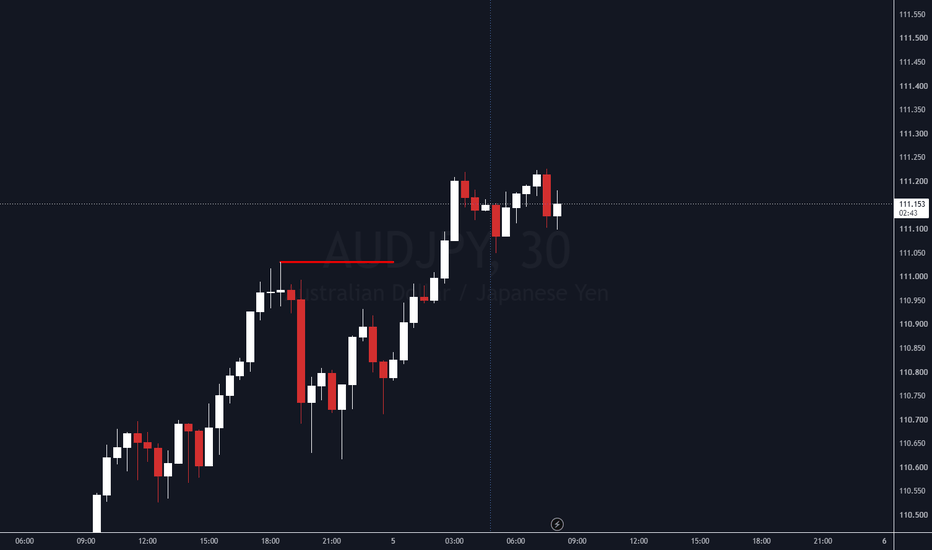
Market Overview / Thesis
On the 1-hour (H1) time frame, AUDJPY is currently exhibiting a strong bullish market structure characterized by higher highs and higher lows. Price is pulling back toward a major structural support and demand zone . This area coincides with previous resistance-turned-support and a key Fibonacci retracement level, making it an ideal candidate for continuation of the broader upward trend.
Execution Strategy
We are not entering this trade immediately on a blind limit order. Instead, patience is key. We will monitor price action as it taps into the zone and drop down to the 5-minute (5M) or 1-minute (1M) lower time frames. Execution will only take place upon seeing clear confirmation signals—such as a shift in market structure (ChoCh), a change of character, or a strong bullish engulfing candle—to minimize drawdown and optimize our entry.
Exact Trade Parameters
Asset / Pair: AUDJPY
Direction: LONG
Entry Level / Zone: 111.100 (Pending lower timeframe confirmation)
Take Profit (TP): 30 pips
Stop Loss (SL): 10 pips
Risk-to-Reward Ratio (RRR): 1:3
Risk Disclaimer
Trading foreign exchange on margin carries a high level of risk and may not be suitable for all investors. Past performance is not indicative of future results. Ensure you manage your risk properly, use appropriate position sizing, and never risk more than you can afford to lose.